
Be the first to write a review
0%
(0)
0%
(0)
0%
(0)
0%
(0)
0%
(0)


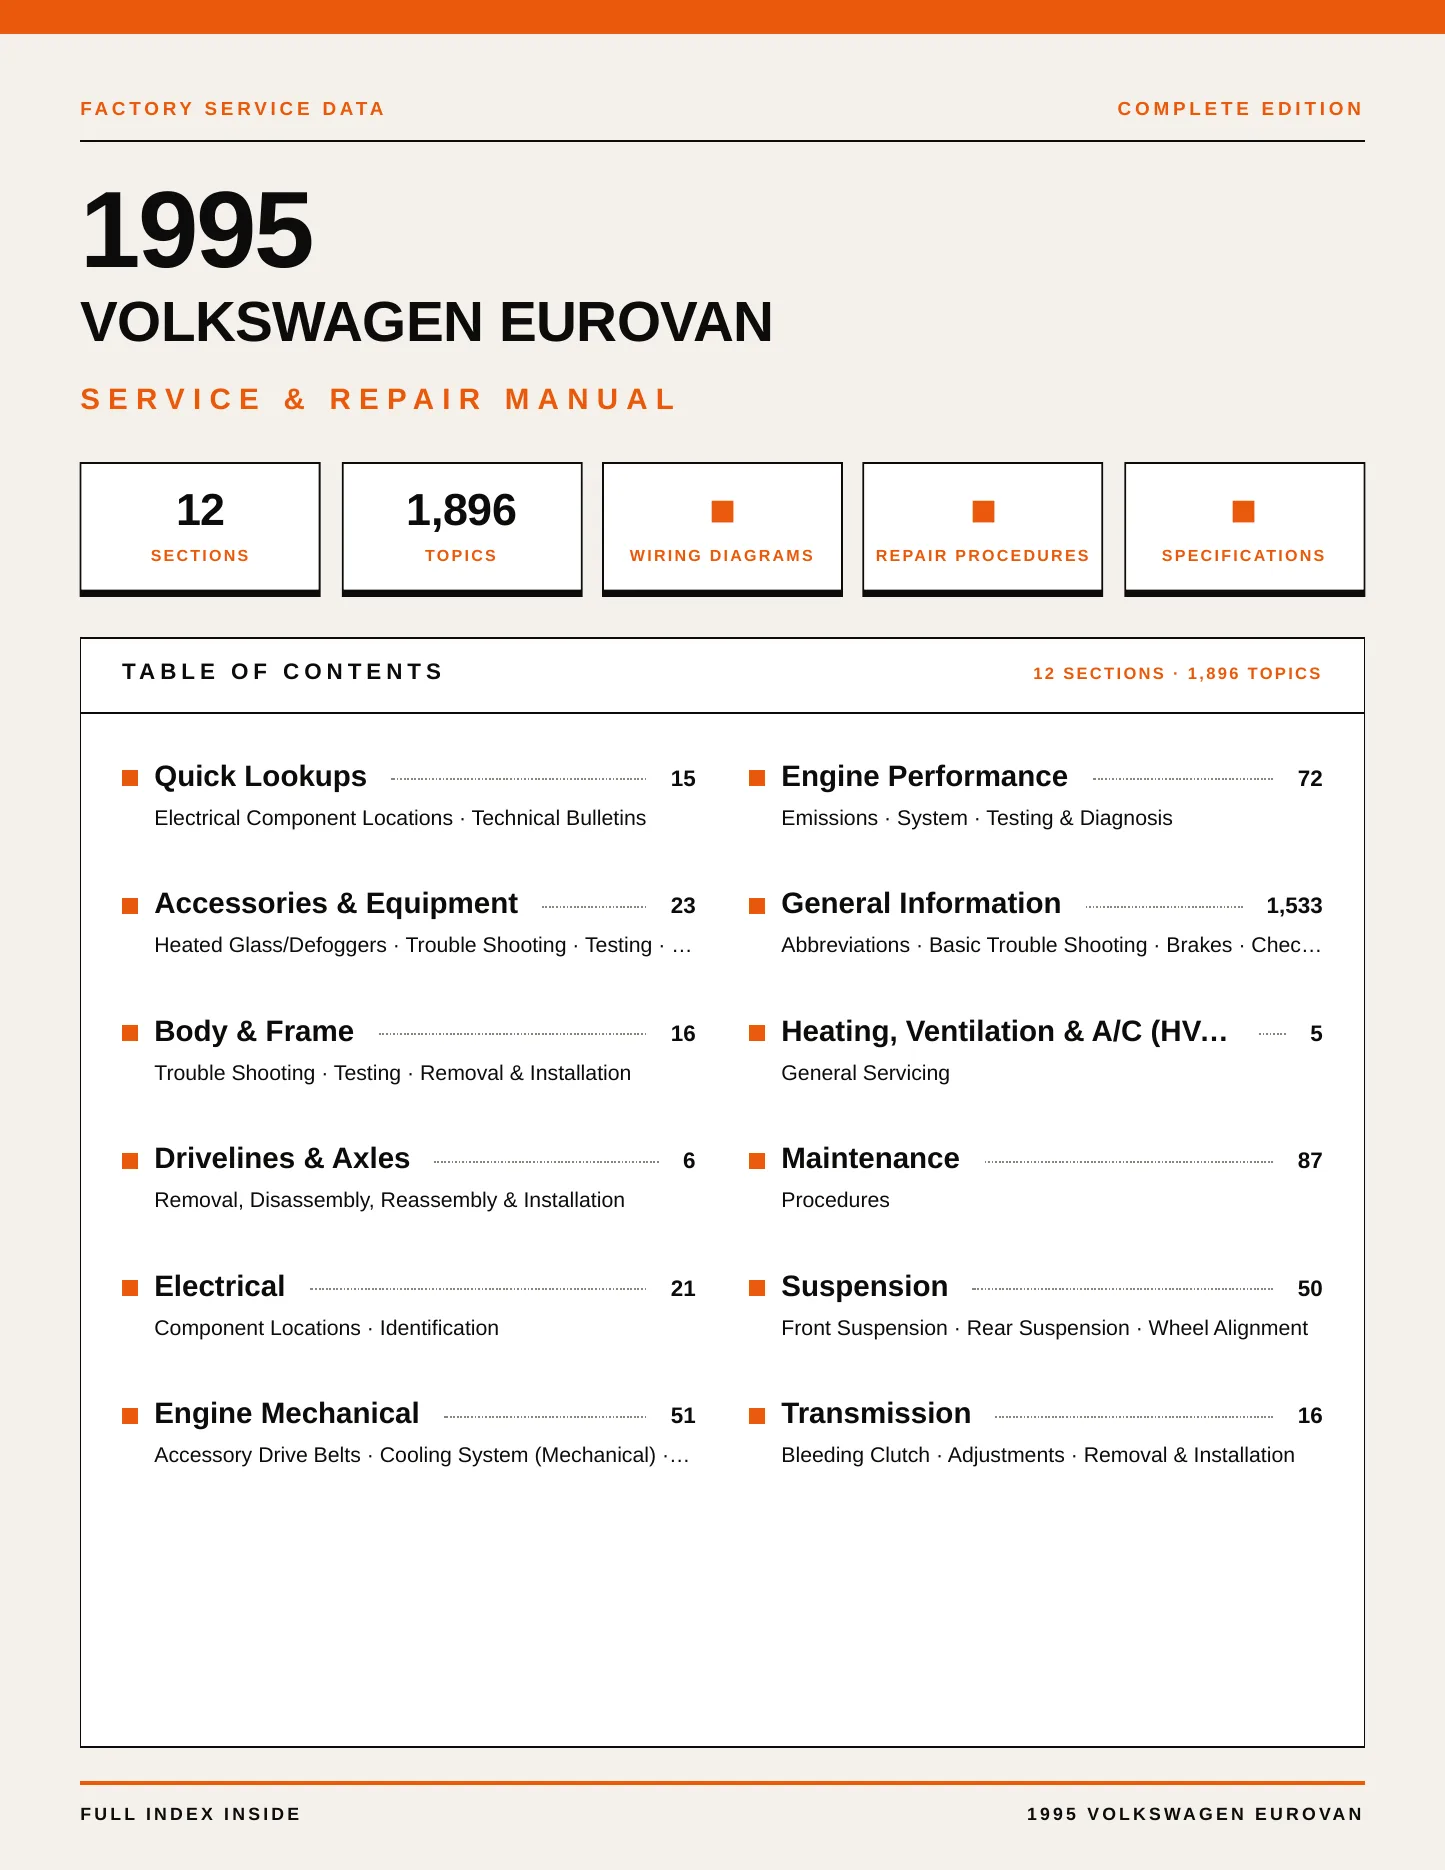
1995 Volkswagen EuroVan Service and Repair Manual

1995 Volkswagen EuroVan service and repair manual — a detailed, factory-style reference for maintenance, diagnostics, and repair. Use it to confirm correct procedures, specifications, and system coverage before you start work.
Designed for technicians and DIY owners, this manual helps you diagnose issues correctly, follow proven repair steps, and use wiring diagrams and system sections to track faults faster.
Fuel Additive to Help Prevent Sporadic Misfire Faults
Squeaks, Rattles, Noise, Repair Materials
To detect which line(s) is inoperative, utilize a volt meter to check for 0 V, which will be present after the open in the grid line. The check must be performed with the engine running and heated rear window switched on. Switch OFF the ign
Technical Bulletin (Squeaks, Rattles, Noise, Repair Materials): This doucment contains a list of components and applications developed to repair concerns of squeaks, rattles, noise and trim fit conditions.
Tech Tips (Heated Rear Window, One or More Lines Inoperative): To detect which line(s) is inoperative, utilize a volt meter to check for 0 V, which will be present after the open in the grid line. This document informs of how to diagnose th
VOLKSWAGEN: EXHAUST HEAT SHIELD, REPLACEMENT GUIDELINES. HEAT SHIELDS ARE TO BE INSPECTED AFTER COMPLETION O ANY TYPE OF REPAIR TO THE UNDERBODY (EXHAUST SYSTEM TRANSMISSION, ETC.), AND IF DAMAGED, REPLACED. *PE
SUBJECT REGARDING LATCH SYSTEM LOWER ANCHORS AND TETHERS FOR CHILDREN, INSTALLING / RETROFITTING. *TT
HORIZONTAL CLEARANCE BETWEEN BRAKE PEDAL AND ACCELERATOR PEDAL 1 3/4 INCHES, CAUSING BOTH PEDALS TO BE DEPRESSED SIMULANTEOUSLY/ACCIDENT. *DH
CAMPER VAN SERIES; REFRIGERATOR HEAT EXHAUST FAN LOCATED 3" BELOW THE ONLY OPENING WINDOW THAT PROVIDES VENTILATION ON ONE SIDE OF VAN CONTAINS THE EXHAUST. THIS LOUVER TRAPS FUMES FROM THE VENT INS
THE BOLT HOLDING THE EXHAUST HEAT SHIELD TO THE VEHICLE CAME UNATTACHED ON ITS OWN.
WHEN APPLYING THE BRAKES OR STEPPING ON THE ACCELERATOR, THE REAR SEATBACK REST MOVES 6 TO 8 INCH BACK AND FORTH. *AK
CARBON MONOXIDE ALARM FAILED. *TT
Showing the 5 most serious of 6 complaints filed with NHTSA.